Oil Painting Buffalo Skull
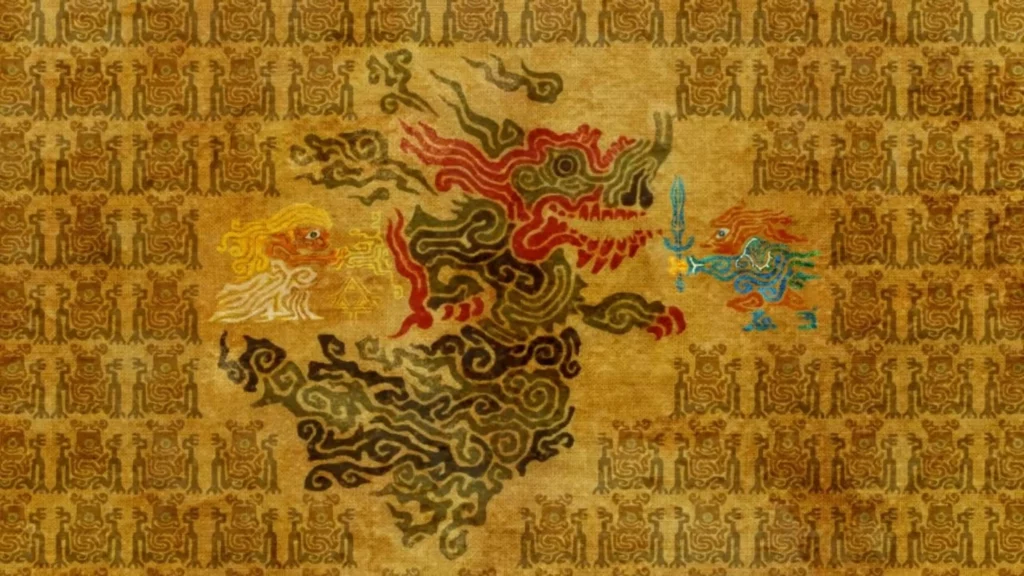
I was unable to find any information online about how to start this process with some skulls I have. I wanted to print some scenes from The Legend of Zelda: Breath of The Wild and decided to start this process. I received all of my information from my mother who has been painting on skulls for decades. First you need the correct tools.
What to use
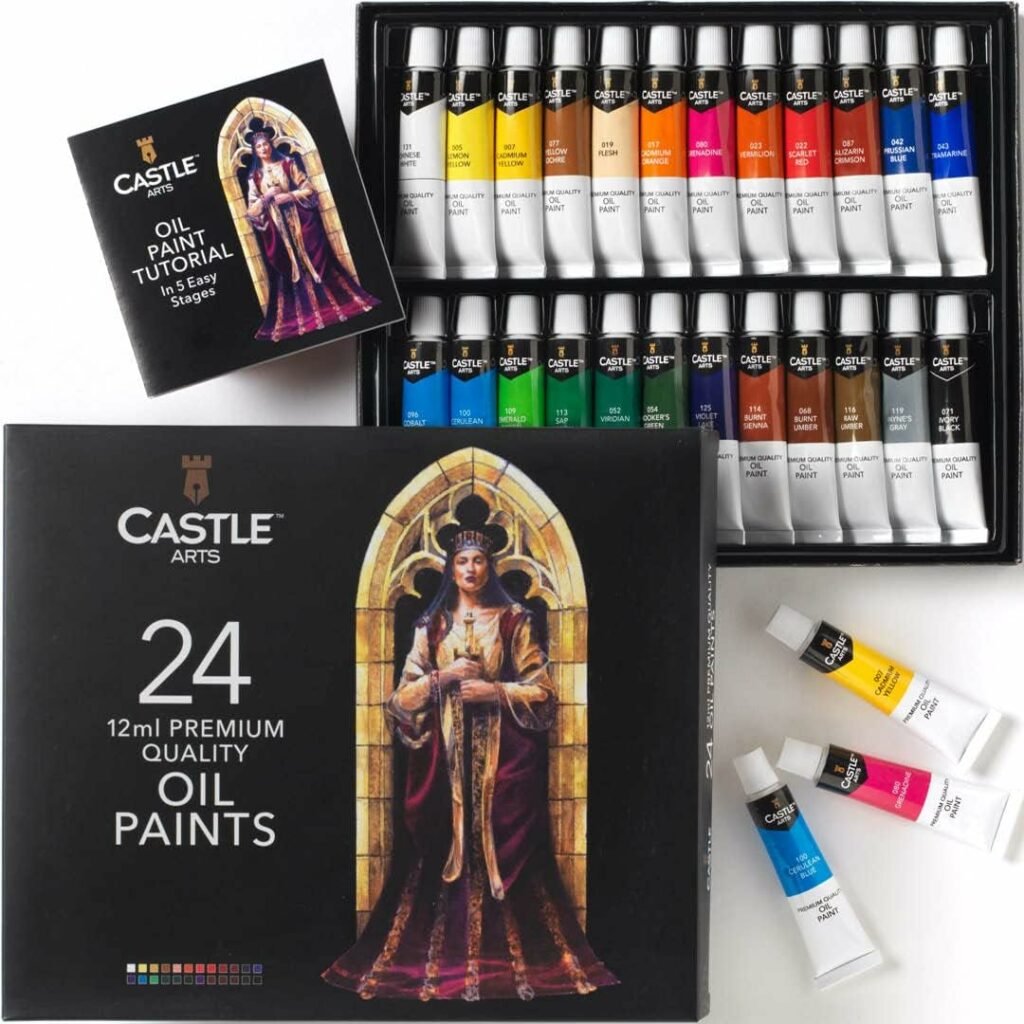
Paints– I used a set like these and they worked great for my project. Oil paint is the kind you need when painting on skulls.
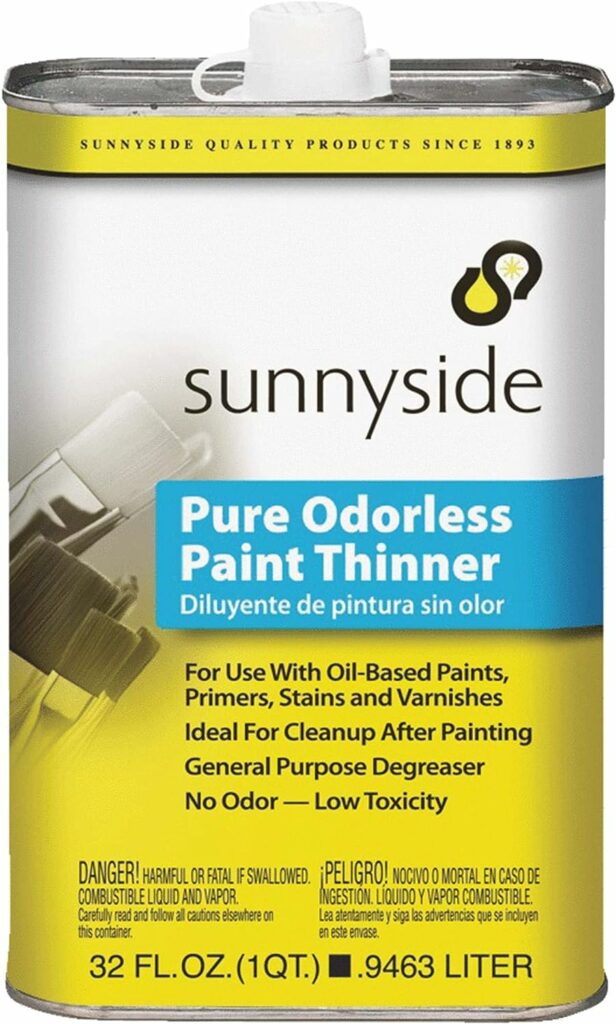
Odorless Paint Thinner– Used when you need to thin your paint. I did not need to use this since I was only painting lines and with bright, thick paint.
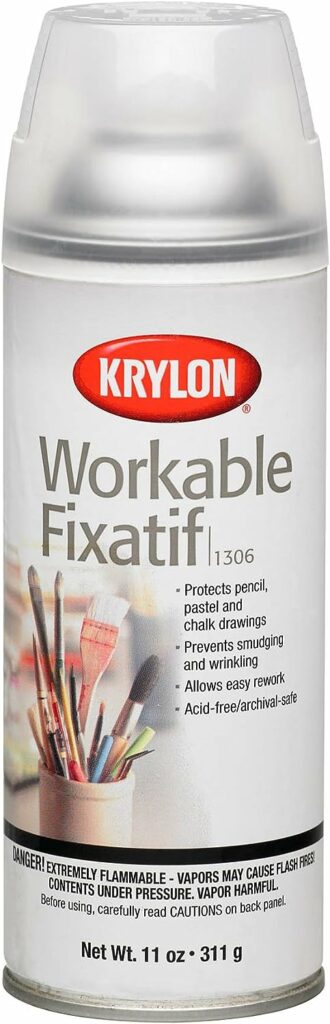
Workable Fixatif– I used this after tracing the design onto skull to prevent the trace from getting smudged while painting.
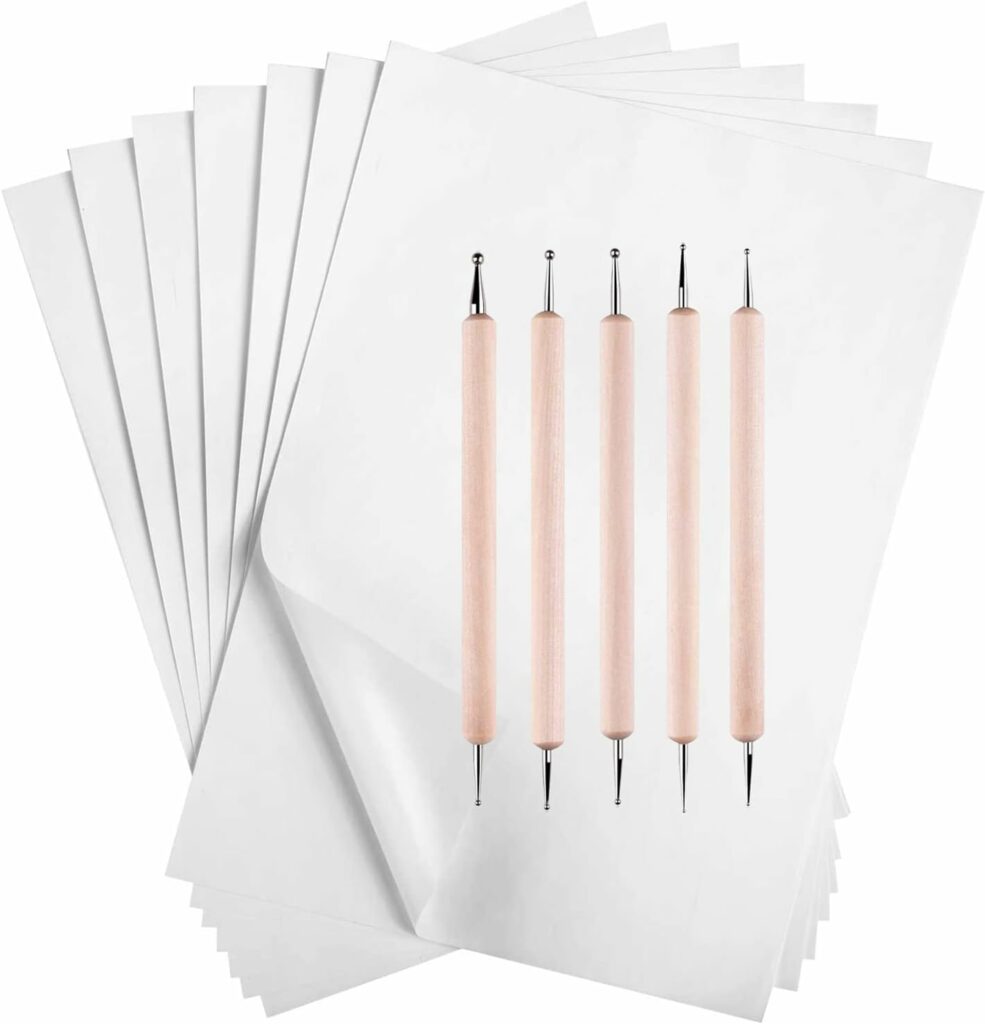
Tracing Paper and Stylus– Used to put the picture onto the skull to get it ready for painting.
Clear Coating- Used after the painting is completed and dry.
How I completed the project
After I gathered all of my material and my buffalo skull, I started by prepping the skull. You need to start with a cleaned skull. Then prep the skull with a black primer oil based paint. This is very important since skulls are a porous surface. After completing this I found my photo online and printed it out on normal printer paper.
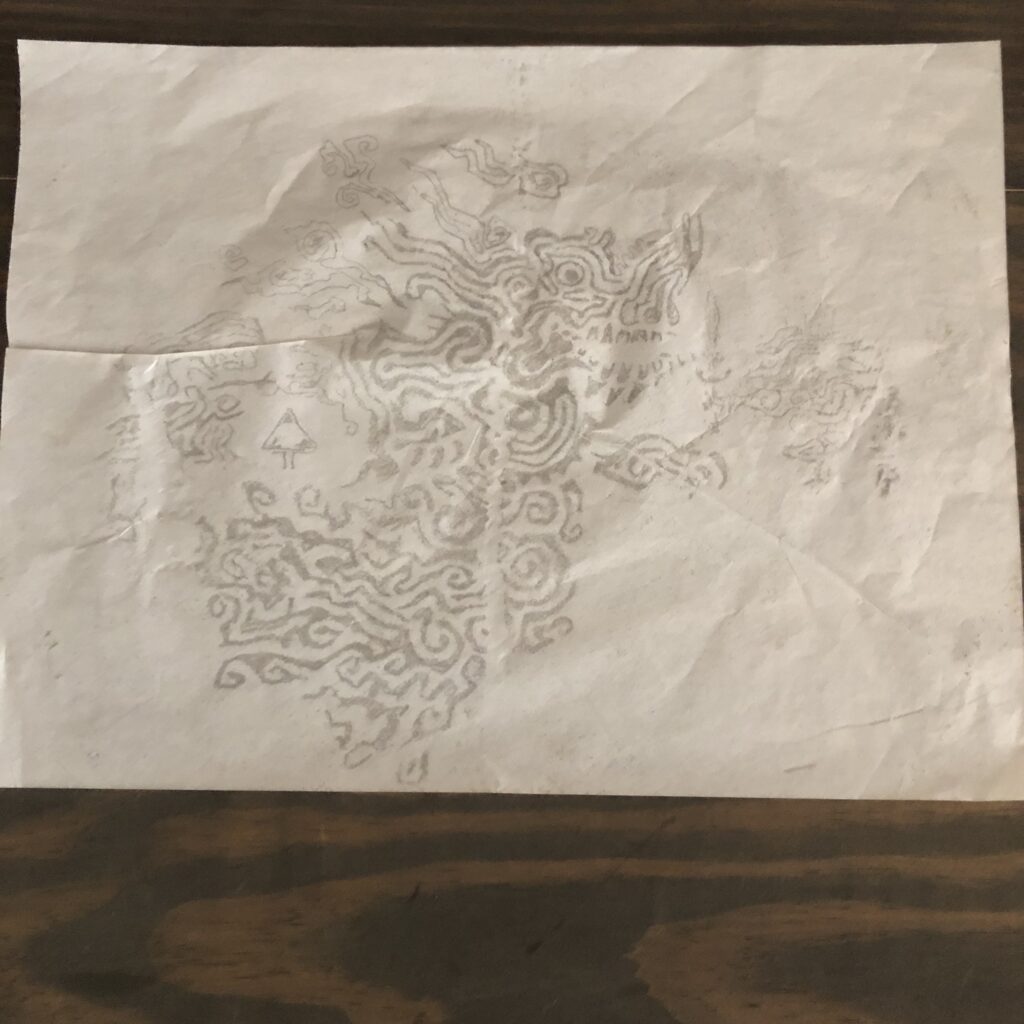
Next I placed my white transfer paper (black doesn’t work on the black painted skull). Securely place the transfer paper and then the printed off art work with tape that will not slip. This photo is what the skull looked like after tracing it and what the transfer paper looked like afterwards. This is where the styluses come in. The set the transfer paper comes with has multiple different gauges for thinner and thicker tracing.
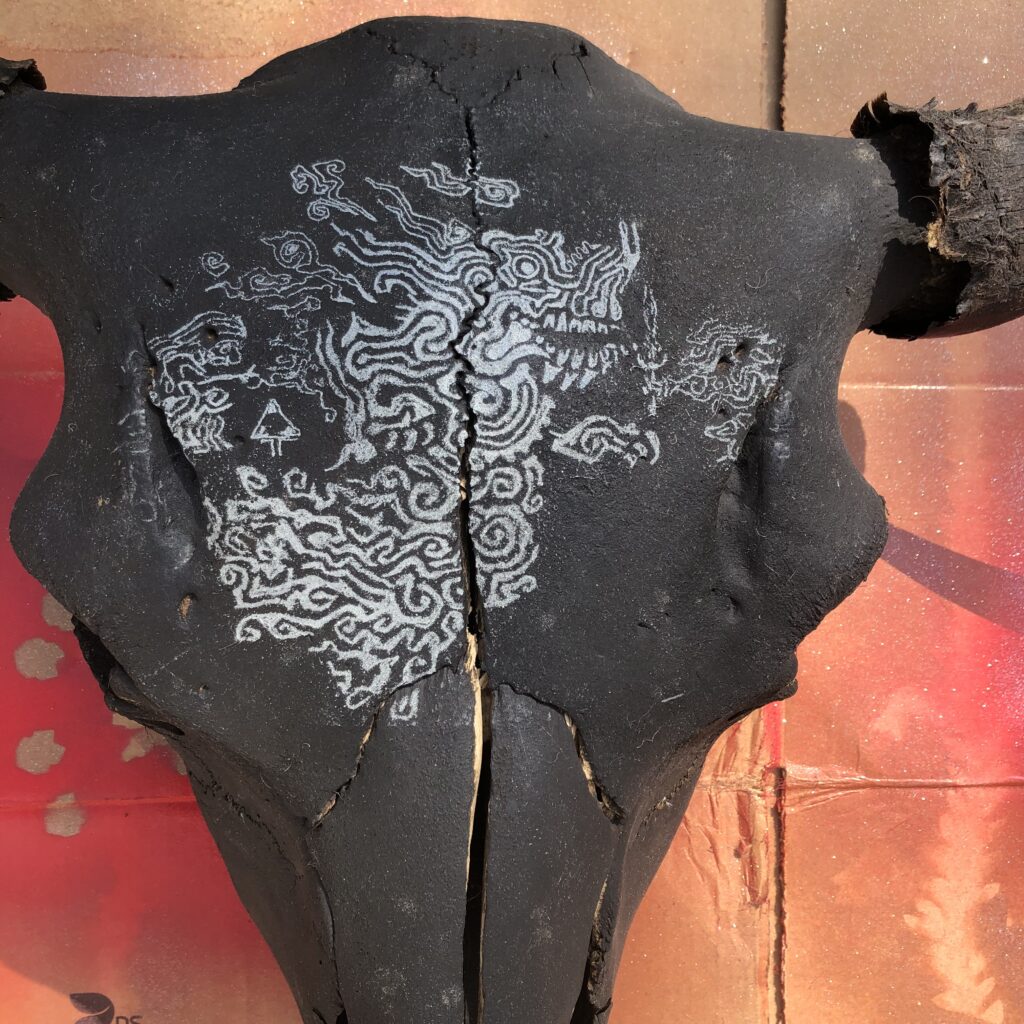
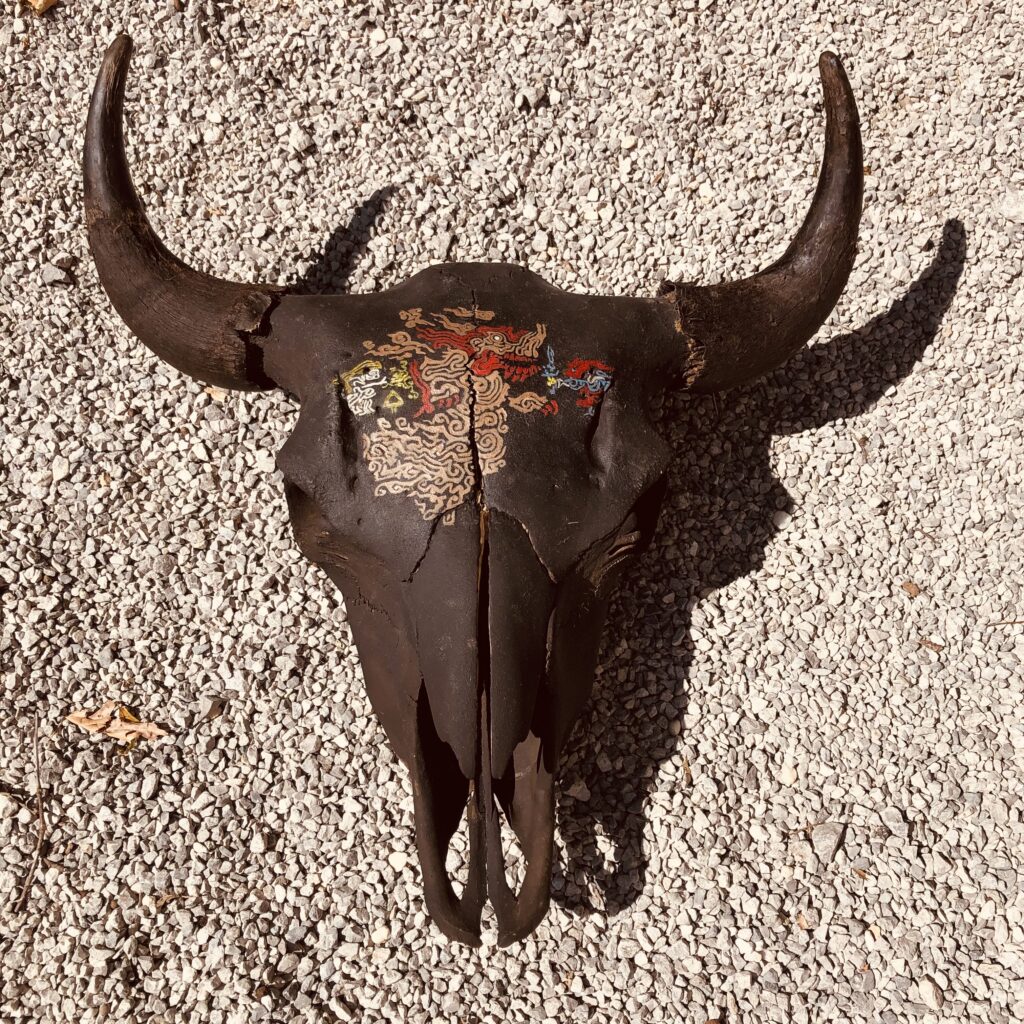
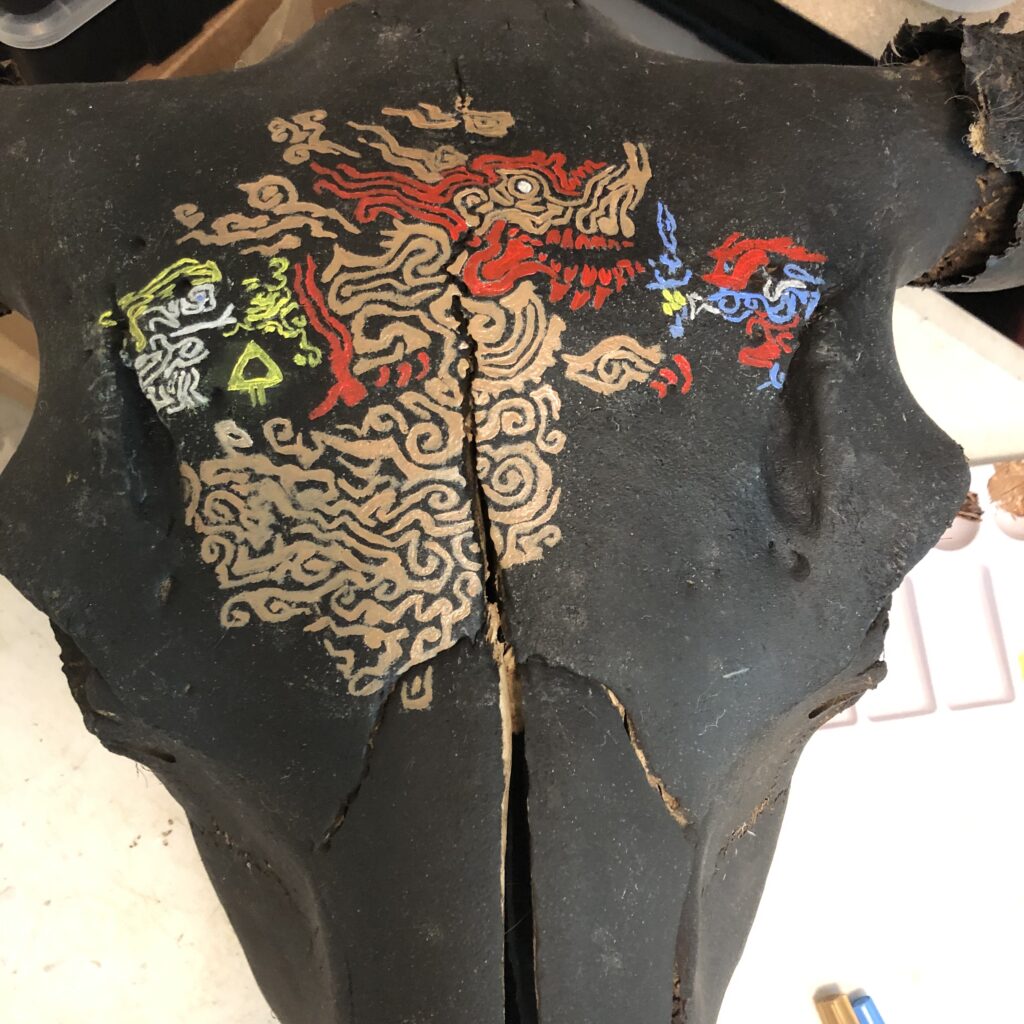
I then used the workable fixatif on the skull. I sprayed it outside, giving it two coats. I made sure to spray it outside, since you need a well ventilated area. After it dried I painted the skull with the original photo as a guide for colors. The photo is what the skull looked like after painting.
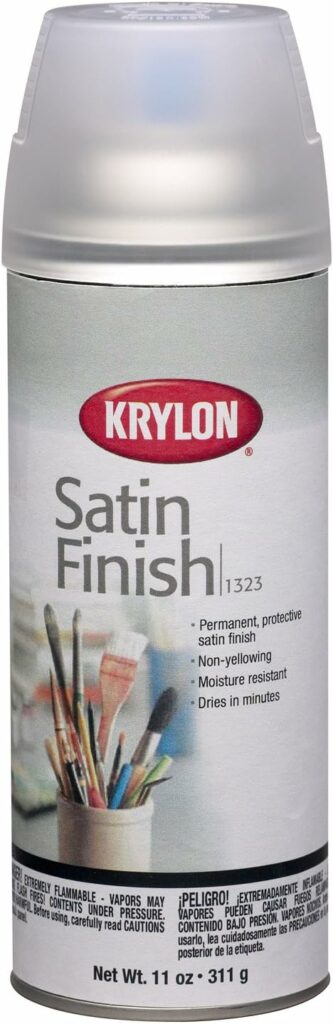
Lastly I used Krylon non-yellowing finish. It took around a day for the painting to dry before I used the finishing spray. Again, I sprayed it outside since again you need a well ventilated area. The photo is the completed project.